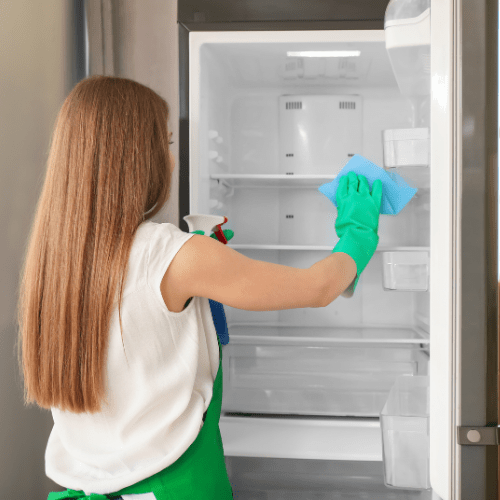
How To Clean Your Fridge

Moving out of a rental property can be a lot of work. To ensure you receive your bond return, you are required to have all appliances in the kitchen cleaned and appearing in the condition they were when you first moved in. If you wish, you can clean them yourself. One of the most important of the appliances to clean properly is the fridge. It is not hard to clean, but it does require several steps to ensure it is cleaned properly.
Here are step-by-step instructions on how to properly clean one.
Step 1 – Empty and Audit
If you are moving directly to a different rental unit, remove all the contents of the fridge you plan on taking with you. Throw away items that you are not, as well as anything that has expired. Meat and dairy products should go into an insulated cool bag with ice blocks. Take stock of what you have and if it makes it easier, write them down in a list to keep track.
Step 2 – Remove Shelving
Unplug the fridge and allow it to reach room temperature. This way, you can remove the shelves without them cracking on you. When removed, soak all shelves or drawers in hot soapy water.
Step 3 – Clean The Inside
Spray the inside of the fridge with a solution of distilled vinegar and water. This will help deodorize as you clean. Spray more on places that have dried on substances or sticky spills that have not been cleaned. Wash the shelves as you let the solution work inside the fridge. After you wash the shelves, wipe the inside of the fridge with a soft, damp cloth or rag. Start at the top and work down. If the fridge has a smell, use baking soda as your cleaner.
Step 4 – Clean The Drawers
Remove the drawers and allow them to soak in hot soapy water. Scrub them on the inside with a bottle brush or an old toothbrush. Rinse, pat dry, and replace them inside the fridge, or keep them outside of the fridge until you finish cleaning the inside of the appliance.
Step 5 – Wipe Door Seals
Crumbs and spills can get caught in the door seals. With the handheld vacuum, and a stiff brush or toothbrush, clean the seals. Follow that up by wrapping a blunt knife with a cloth dipped in the vinegar and water solution. Run the wrapped knife along the crevices in the seals and repeat with a dry cloth or kitchen towel.
Step 5 – Clean The Freezer Compartment
Place a towel at the bottom of the freezer to absorb water that will collect as it defrosts. Leave the door open and spray a mixture of warm water and distilled vinegar on the freezer walls. Use a soft cloth to wipe clean and let dry.
Step 6 – Clean The Outside
Wet a cloth with soapy water, pour some baking soda on it, and clean the top, sides, and door of the fridge. Use the old toothbrush if you encounter something stuck to the outside surface of the fridge that needs to be removed. Wipe down with a dry cloth and allow to dry completely.
Step 7 – Cool The Fridge/Freezer
After you have completely cleaned the inside and outside of the fridge, replace all shelving and drawers, if you haven’t done so already. Then plug the appliance back into the power outlet and allow it to get back to temperature. Reload the food items you plan on taking with you to keep them cool until you do.
For Bond Cleaning on the Sunshine Coast, Contact Bond Clean
Maybe you don’t want to clean the fridge and would rather have a professional deal with it. For fridge cleaning on the Sunshine Coast, contact Bond Clean SC today. They are your local commercial cleaning experts on the Sunshine Coast. Let them clean your fridge for you.
Conclusion
Although you could clean your fridge if you wanted to, sometimes it is best to leave a job like this to bond cleaners. When you have professional, commercial cleaners doing the cleaning, you know that your bond return will come back to you as you leave your rental for another place to call home.


